How to setup CapeV2 on Ubuntu 24.04
CapeV2 is one of those tools that looks straightforward on paper and humbles you in practice. After several failed attempts over the years, I finally got a stable deployment running on July 8th 2025 — and have since rebuilt it cleanly multiple times. This guide is the consolidated walk-through I wish I'd had on the first attempt. It targets a bare-metal Ubuntu 24.04 host running KVM with a Windows 10 guest. If your setup differs, the structure should still apply; only paths and IPs will change.
What is CapeV2?
CapeV2 is a malware analysis sandbox that builds on Cuckoo. You submit a sample through its web UI, and CAPE orchestrates detonation inside a snapshot-restored guest VM, capturing process activity, network traffic, dropped files, and behavioural signatures. Think of it as a self-hosted alternative to commercial sandboxes like Hybrid-Analysis or any.run, with full control over the analysis environment.
Lab environment
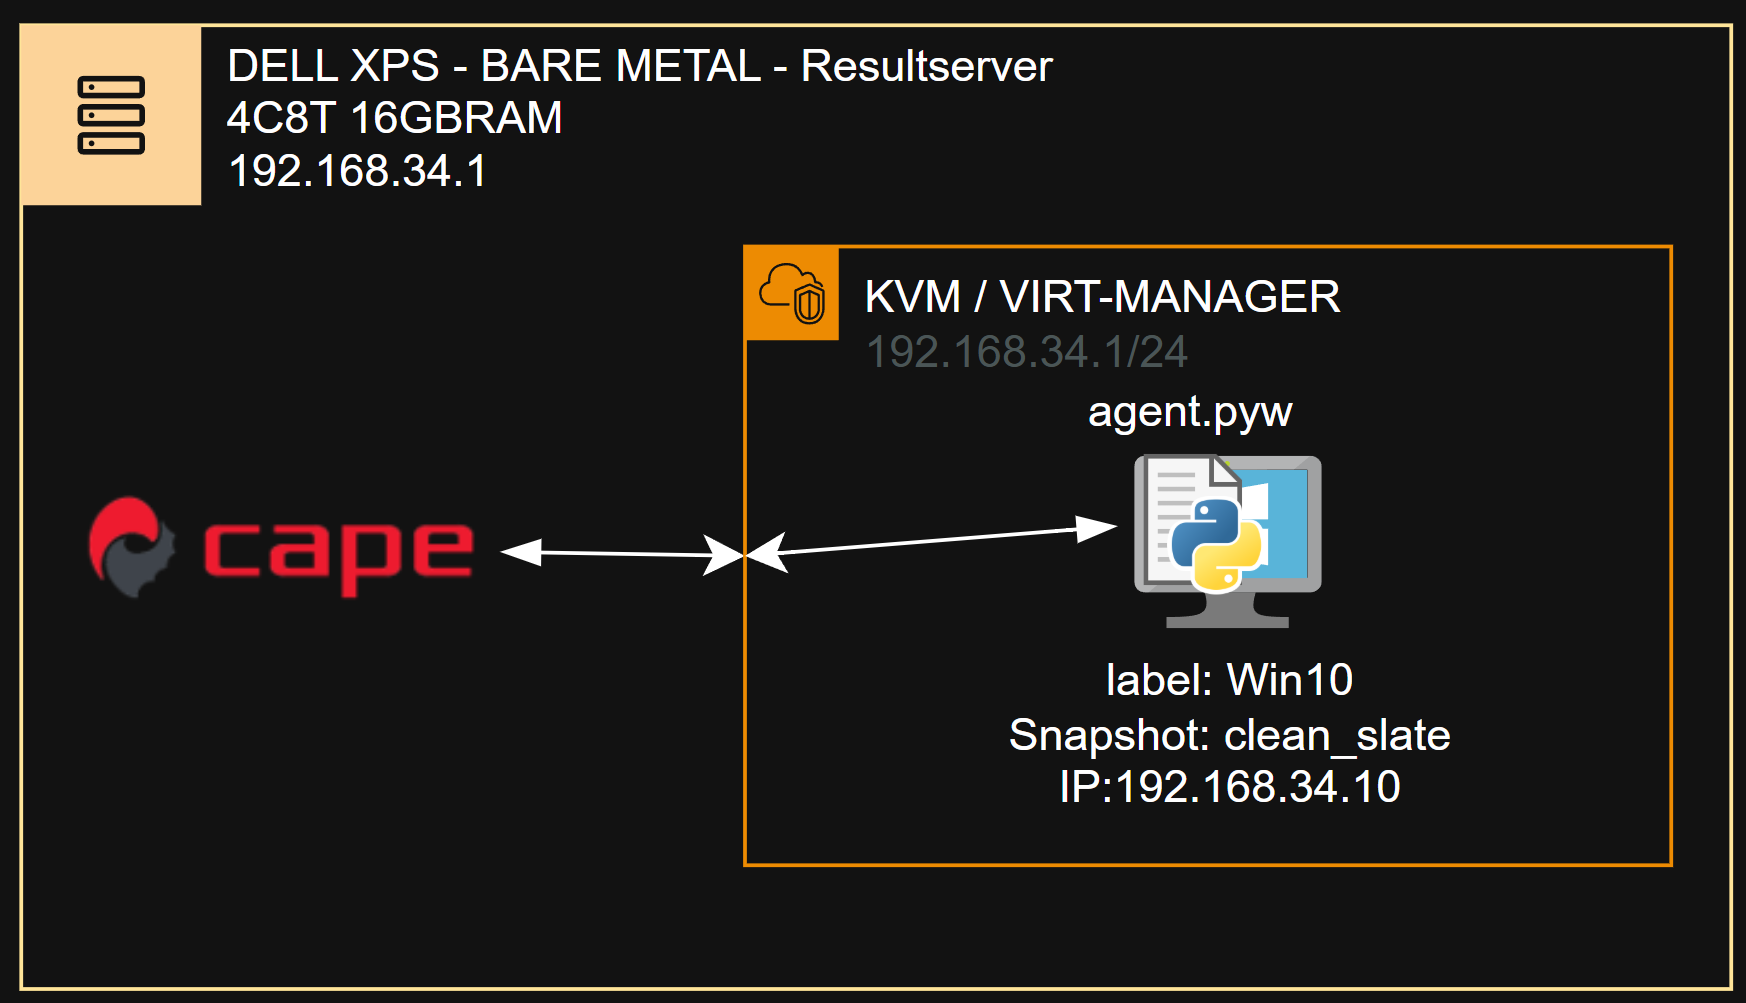
This deployment runs on a Dell XPS 13 9530 connected over Wi-Fi — modest hardware, but sufficient for single-VM analysis. For ISO management and host installation I use Ventoy, which is well worth adopting if you don't already.
Step 1 — Install Ubuntu 24.04 on the host
Verify CPU virtualization support
Confirm your CPU supports hardware virtualization before going further — check your BIOS/UEFI settings.
Intel platforms
- VT-x — Virtualization Technology for x86
- VT-d — Virtualization Technology for Directed I/O (IOMMU)
AMD platforms
- AMD-V — also referred to as SVM (Secure Virtual Machine)
- AMD-Vi — I/O Virtualization Technology (IOMMU)
Base install
Install Ubuntu 24.04 Desktop with the minimal software option. Do not create a user named cape during installation — that account will be created later by the CAPE installer, and a name collision will cause problems. Use a regular administrative account instead.
Once the install completes and you are logged in, proceed to Step 2.
Step 2 — Set up KVM and virt-manager
CAPE uses libvirt under the hood, so we'll install KVM and virt-manager next. Create a working directory to hold the upstream installer scripts and cd into it before starting.

Collect host hardware identifiers
Sandbox-aware malware frequently inspects ACPI tables to detect virtualised environments. To reduce that signal, the KVM installer can substitute placeholder values with identifiers harvested from your real hardware. Collect them with:
sudo apt install acpica-tools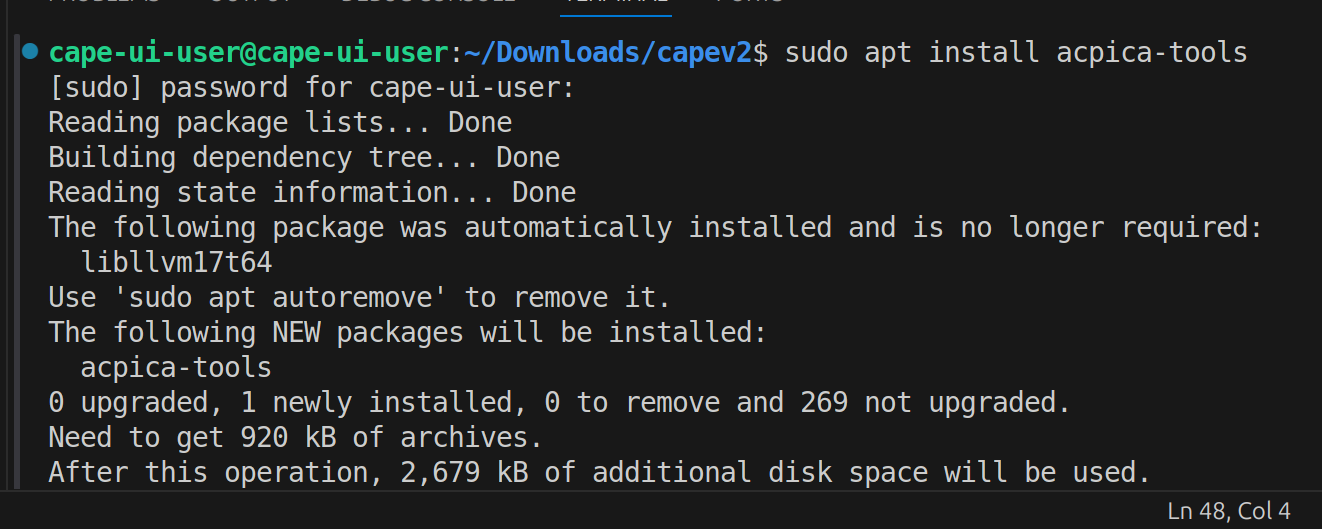
sudo acpidump > acpi_dump.dat
acpixtract acpi_dump.dat   # produces a number of .dat files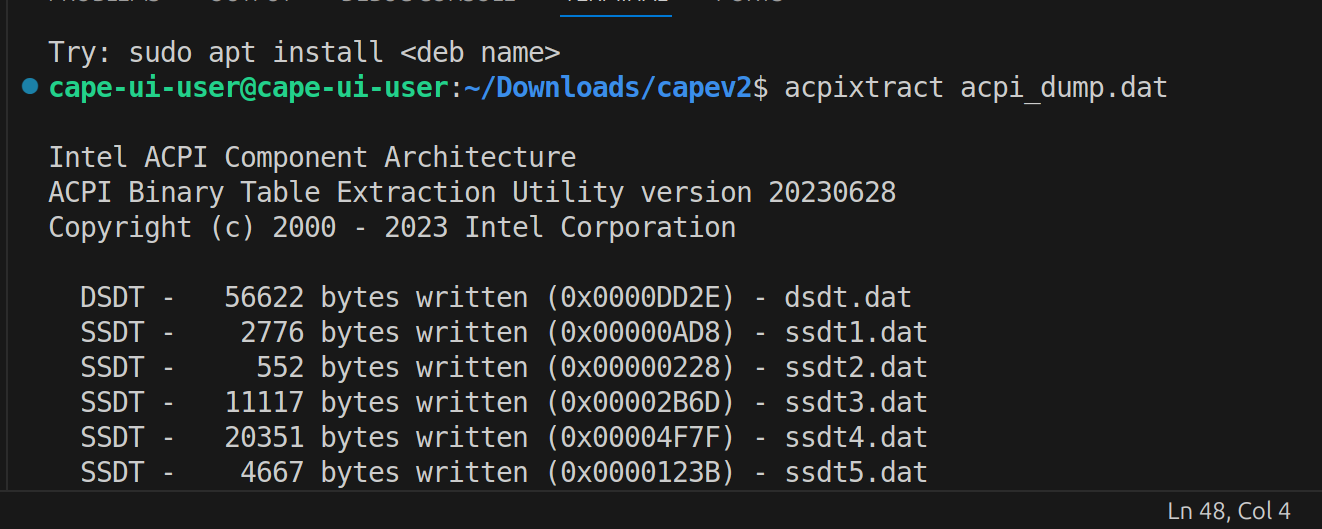
iasl -d dsdt.dat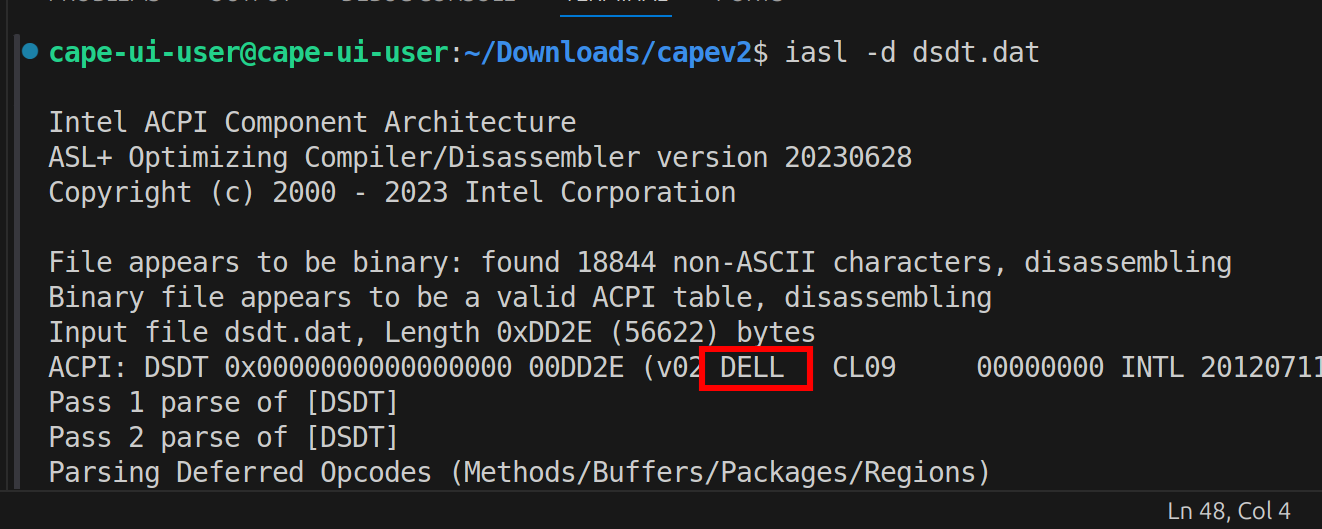
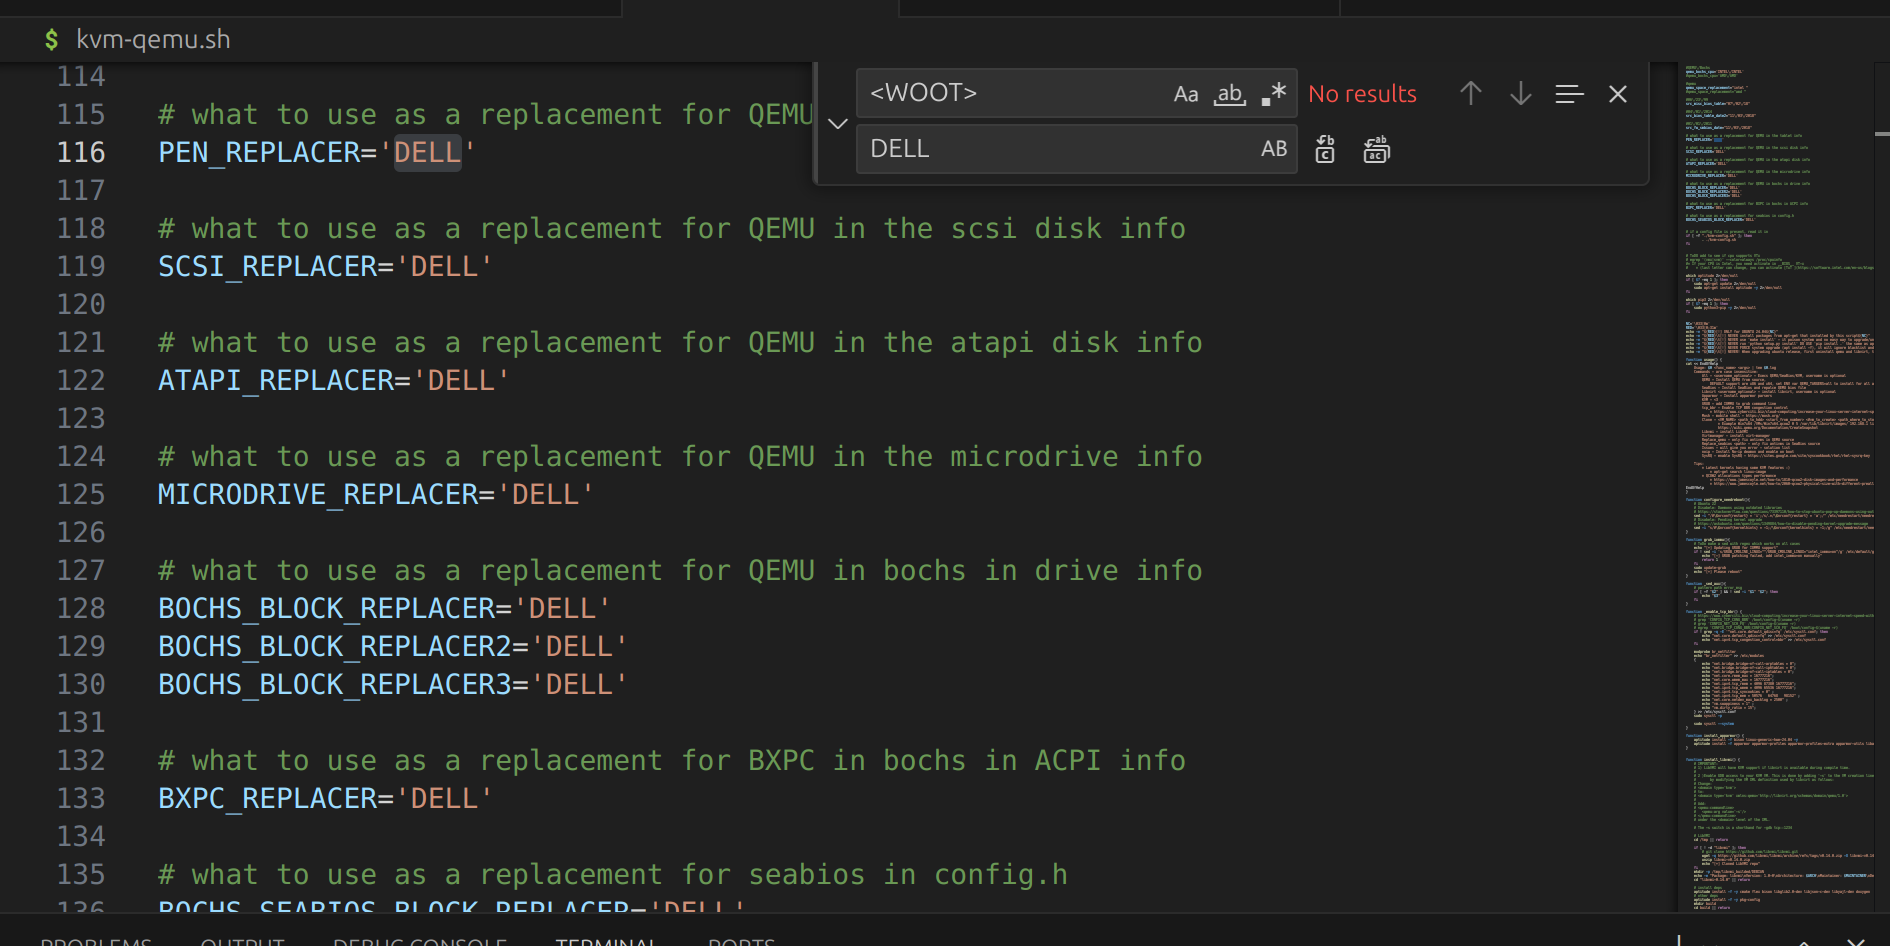
From the decoded DSDT, take a four-letter vendor code. If none of the identifiers look usable, fall back to DELL, PNP0, or CBX3. For this guide I will use DELL.
If you skip this step, the installer will use defaults — the deployment will still work but is more easily fingerprinted by anti-analysis samples.
Run the KVM installer
Pull the upstream installer:
wget https://raw.githubusercontent.com/kevoreilly/CAPEv2/master/installer/kvm-qemu.sh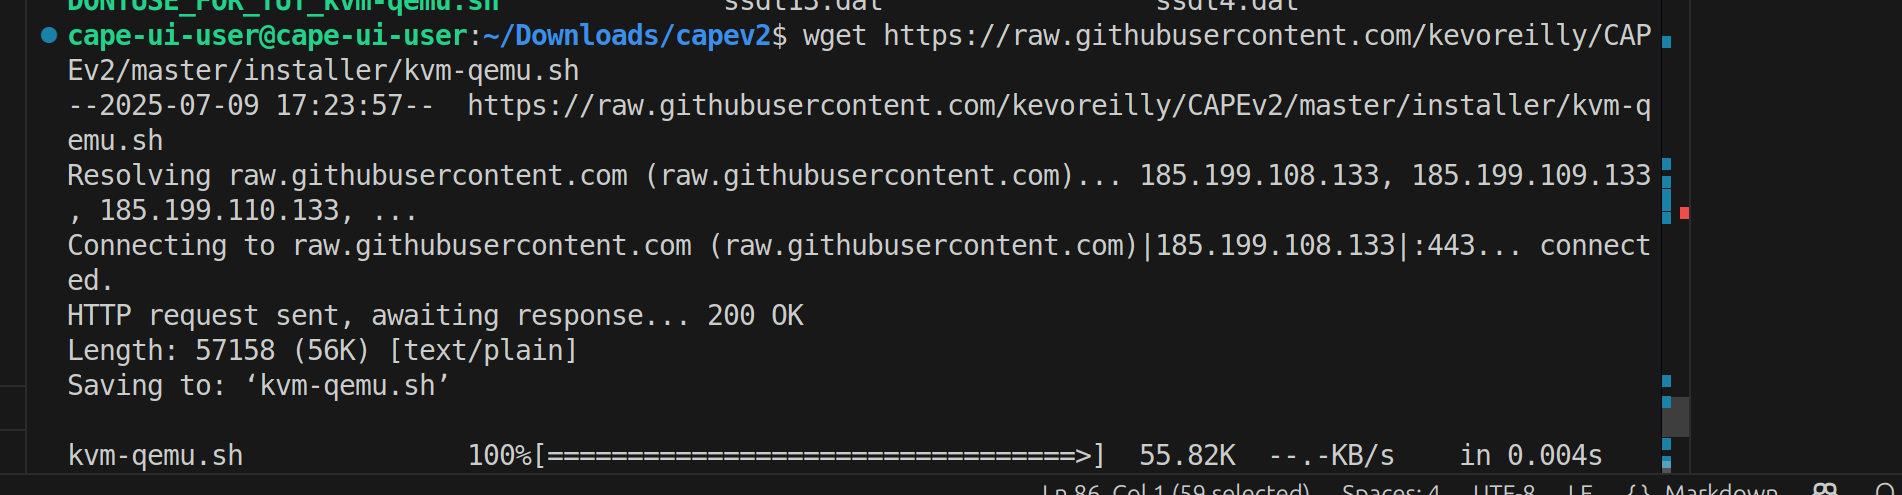
Edit kvm-qemu.sh and substitute your four-letter code in the appropriate fields:
Run the installer as your administrative user (not as cape):
sudo ./kvm-qemu.sh all cape-ui-user | tee kvm-qemu.log
This stage takes several minutes. When it completes, run the virt-manager phase and reboot the host:
sudo ./kvm-qemu.sh virtmanager cape-ui-user | tee kvm-qemu-virt-manager.log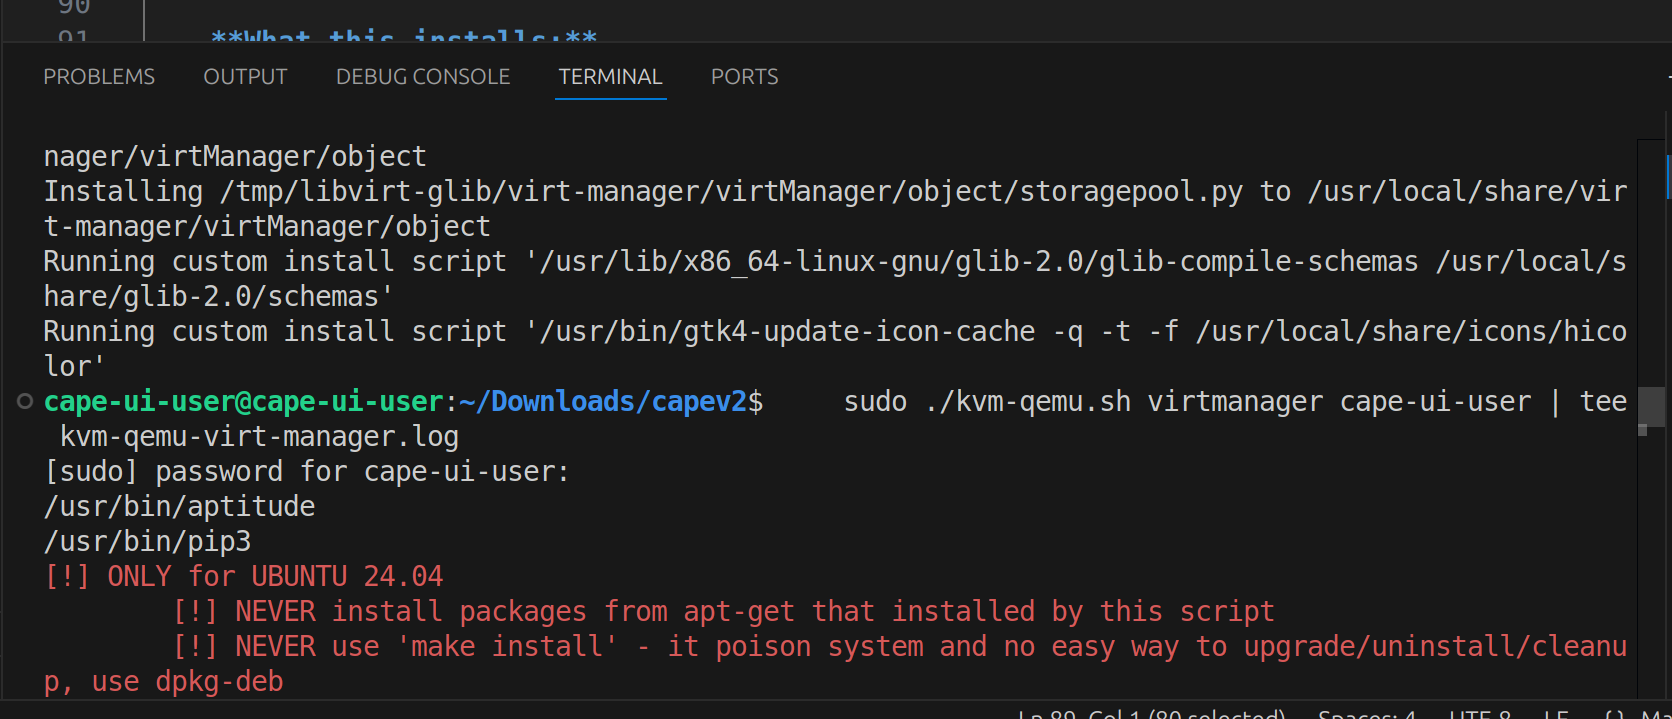
The reboot is technically optional; in practice I always do it before continuing, to avoid intermittent libvirt session issues.
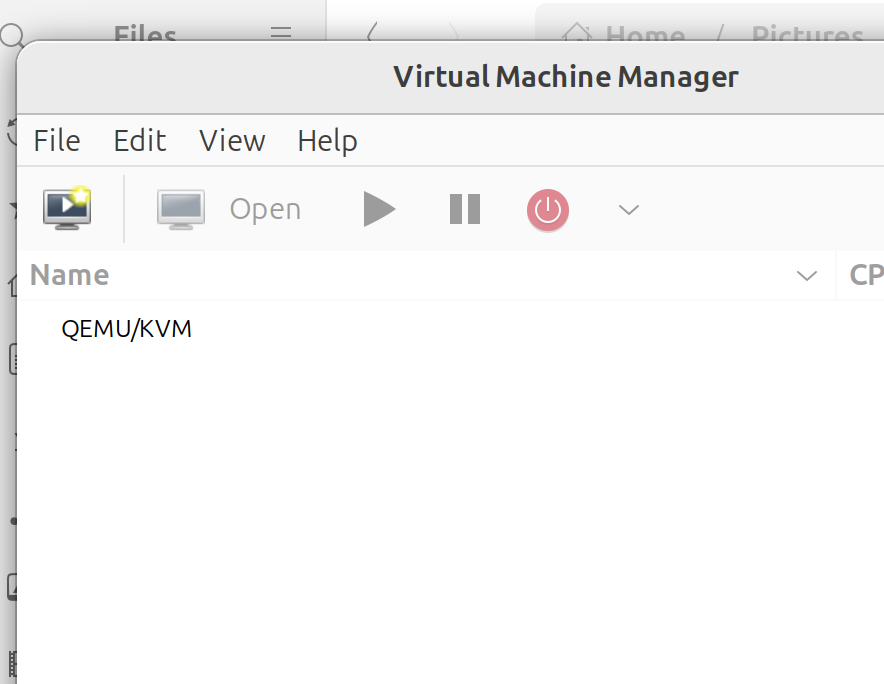
Verify the install
After reboot, launch virt-manager from the Ubuntu menu. You should see the QEMU/KVM hypervisor connected:
ip a should show a virbr0 interface bound to the 192.168.122.1/24 range — the libvirt default.
Re-address the default network
The default 192.168.122.0/24 range is widely fingerprinted as a CAPE/Cuckoo indicator. Change it to something less obvious — anything in the private space that doesn't conflict with your physical network.
- From the main virt-manager window: Edit → Preferences.
- Enable XML editing and save.
- Right-click the QEMU/KVM connection and choose Details.
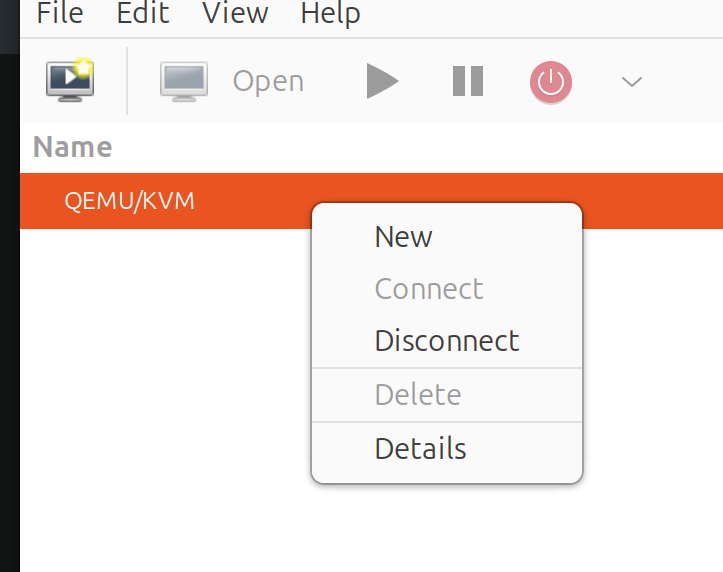
- Open the Virtual Networks tab.
- Stop the network.
- Switch to the XML tab.
- Replace
192.168.122.Xwith your chosen subnet.
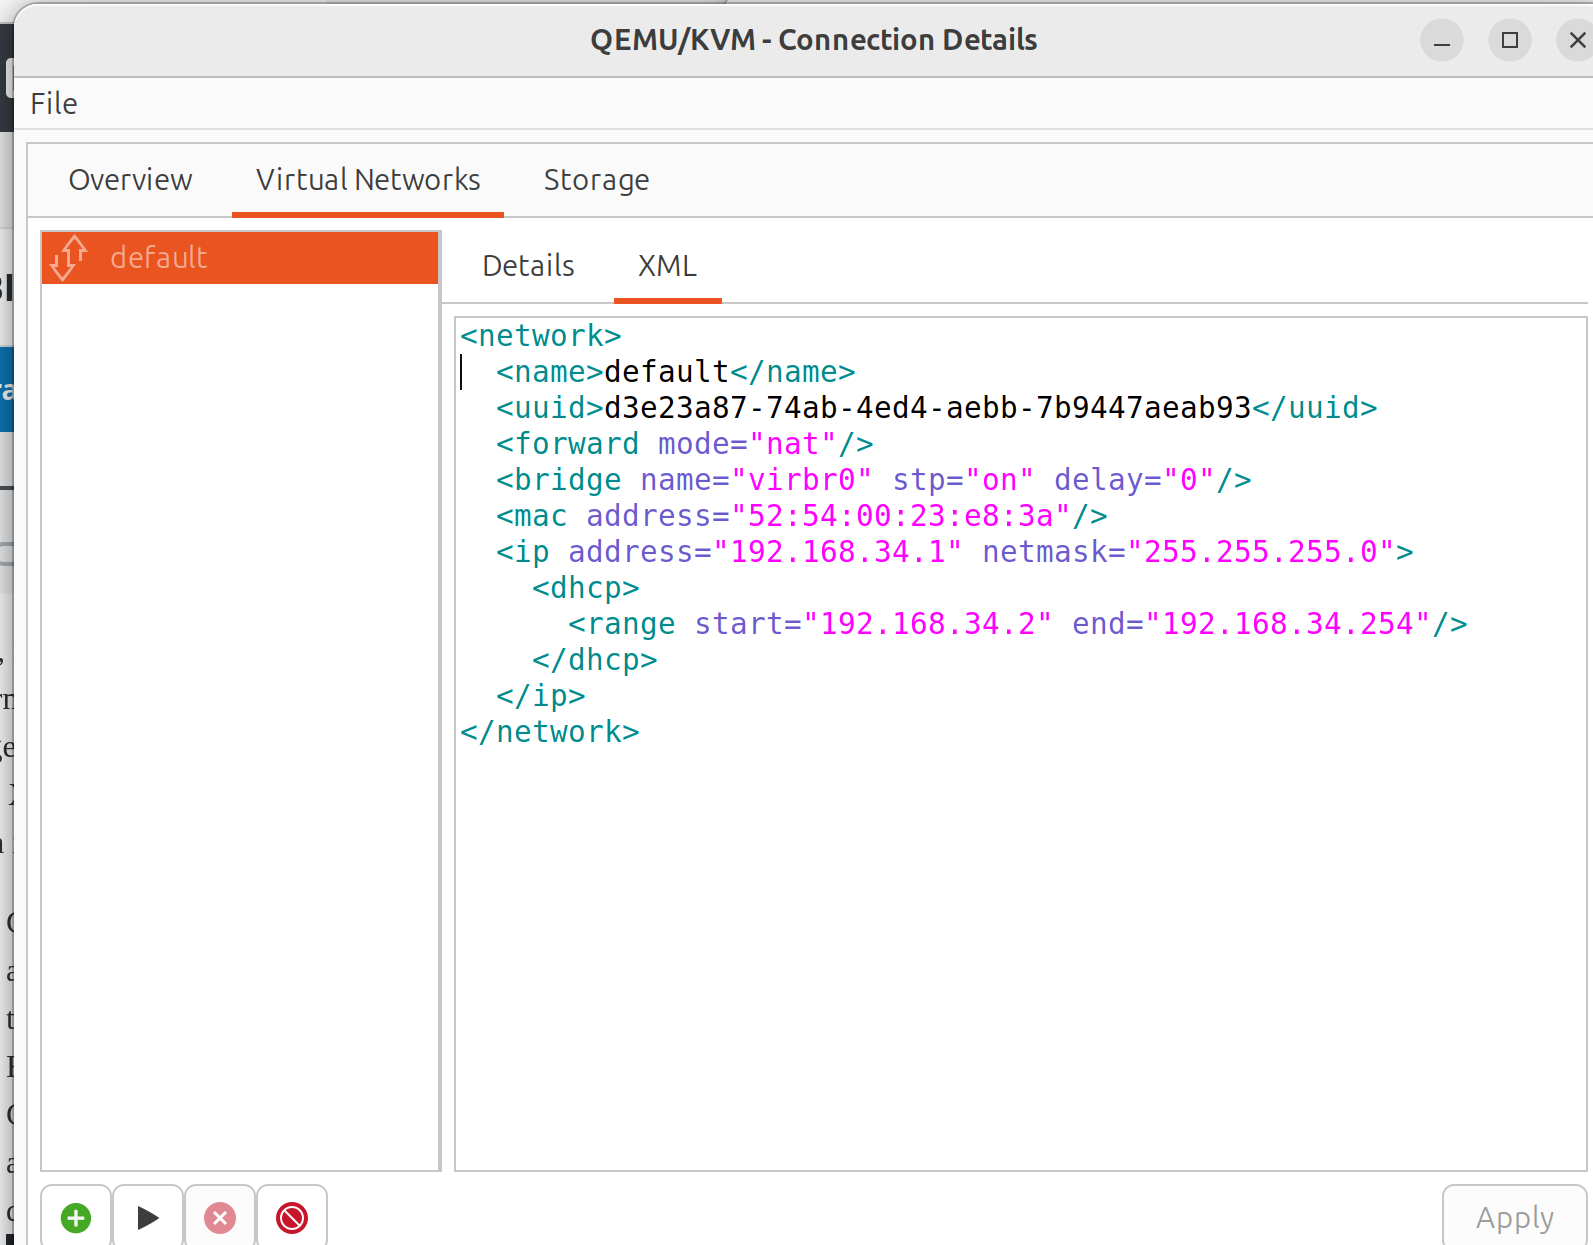
- Apply the change and re-enable the adapter.
Confirm the new range with ip a before continuing.
Step 3 — Build the Windows guest VM
Provision a standard Windows 10 VM in virt-manager. A repacked Windows 10 ISO (debloated, with telemetry trimmed) is a reasonable choice — analysis fidelity benefits from a guest that boots quickly and behaves predictably. Detailed VM provisioning is outside the scope of this guide; any standard virt-manager workflow will do.
While the guest installs, continue with Step 4 in parallel.
Step 4 — Install CapeV2
In your working directory, fetch the CAPE installer:
wget https://raw.githubusercontent.com/kevoreilly/CAPEv2/master/installer/cape2.sh
chmod +x cape2.sh
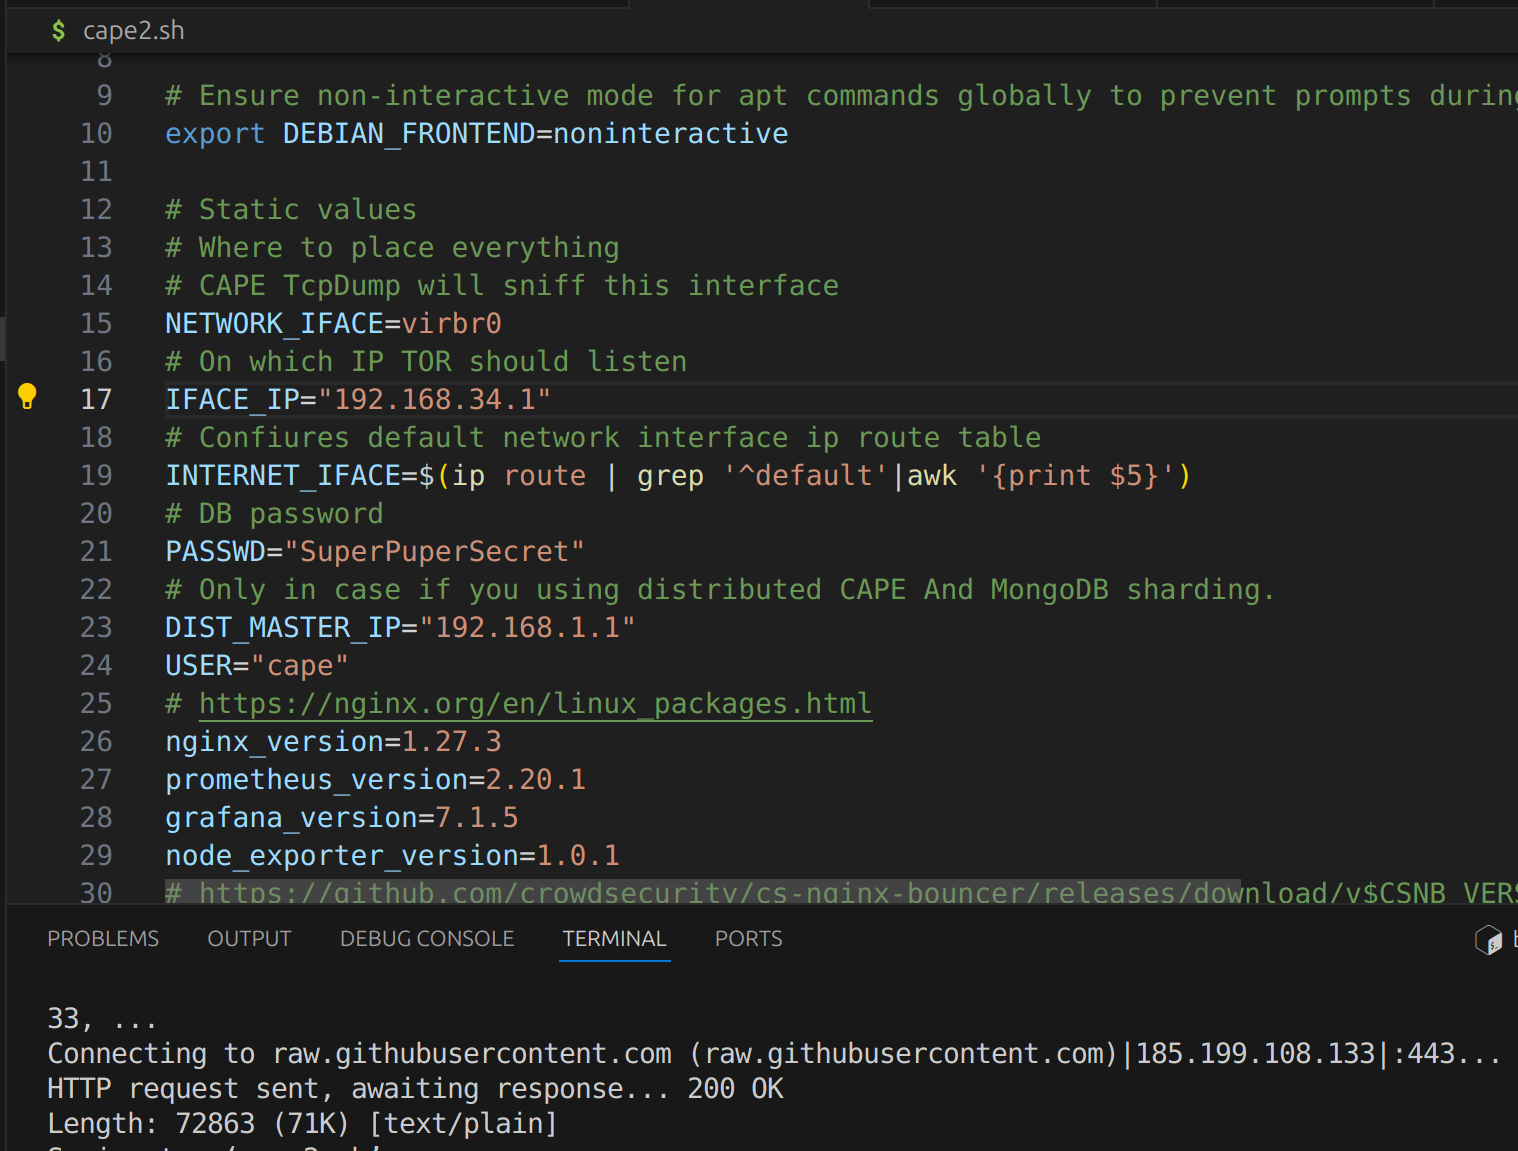
nano cape2.shReview the script and adjust any environment variables to match your host. Here is what my configuration looks like — pay attention to NETWORK_IFACE and IFACE_IP:
Run the base installer:
sudo ./cape2.sh base cape | tee cape.logWhen it finishes, install the optional Python dependencies — these enable additional parsers and integrations:
cd /opt/CAPEv2 && sudo -u cape /etc/poetry/bin/poetry run pip install -r extra/optional_dependencies.txtConfigure kvm.conf and cuckoo.conf
Both configuration files live in /opt/CAPEv2/conf:
cd /opt/CAPEv2/confThe VM name and snapshot name you create in virt-manager must match the values referenced in kvm.conf. The [cape1] section in the example below is template scaffolding — leave it commented out or remove it once you understand the structure.
A few things to keep in mind:
labelmust match the VM name in virt-manager exactly.snapshotmust match the name of the clean snapshot you create in Step 5 (clean_slatein this guide — pick whatever you like, just be consistent).ipmust match the static IP assigned inside the guest.interfaceshould bevirbr0unless you've reconfigured the libvirt bridge.
kvm.conf
[kvm]
# Comma-separated list of available machines. For each ID, define a dedicated
# section below with the machine's details.
machines = win10

interface = virbr0
# Connection string for libvirt
dsn = qemu:///system

# Example template — leave commented out or remove
[cape1]
label = cape1
platform = windows
ip = 192.168.122.105
arch = x86

[win10]
# Must match the VM name in virt-manager
label = win10

# OS platform: windows / darwin / linux
platform = windows

# Static IP assigned inside the guest. Network settings live in
# /etc/libvirt/<hypervisor>/networks/
ip = 192.168.34.10

# Required for Windows VMs — one of: winxp, win7, win10, win11
tags = win10

# Snapshot name to revert to between analyses
snapshot = clean_slate

# Interface used for tcpdump capture
cuckoo.conf — result server section
The result server IP must be reachable from inside the guest. Set it to the host's address on the libvirt bridge:
[resultserver]
# Host IP, reachable from analysis VMs.
# If set to 0.0.0.0, you must define `resultserver_ip` per-machine in kvm.conf.
ip = 192.168.34.1

# Port the result server binds on.
port = 2042
Step 5 — Deploy the agent inside the guest
CAPE controls the guest through a small Python agent. Locate it on the host at /opt/CAPEv2/agent/agent.py, copy it to a USB stick, then redirect the device into the running guest VM.
Inside the guest:
- Rename
agent.pytoagent.pywso it runs without a console window. - Move it to a non-obvious folder — avoid anything that screams "sandbox" (
C:\sandbox,C:\cuckoo, etc.).
Harden the guest for analysis fidelity
Before snapshotting, configure the guest to look like a real workstation. Keep changes simple to start; you can iterate on realism once the pipeline works end-to-end.
- Install Python 3.6 or later (32-bit). I use Python 3.11.9.
- Disable Windows Firewall, or add an allow-all inbound rule.
- Assign a static IP that matches the
ipfield inkvm.conf. - Disable Windows Update, defender real-time protection, and any sleep/hibernate timers.
Run the agent at logon
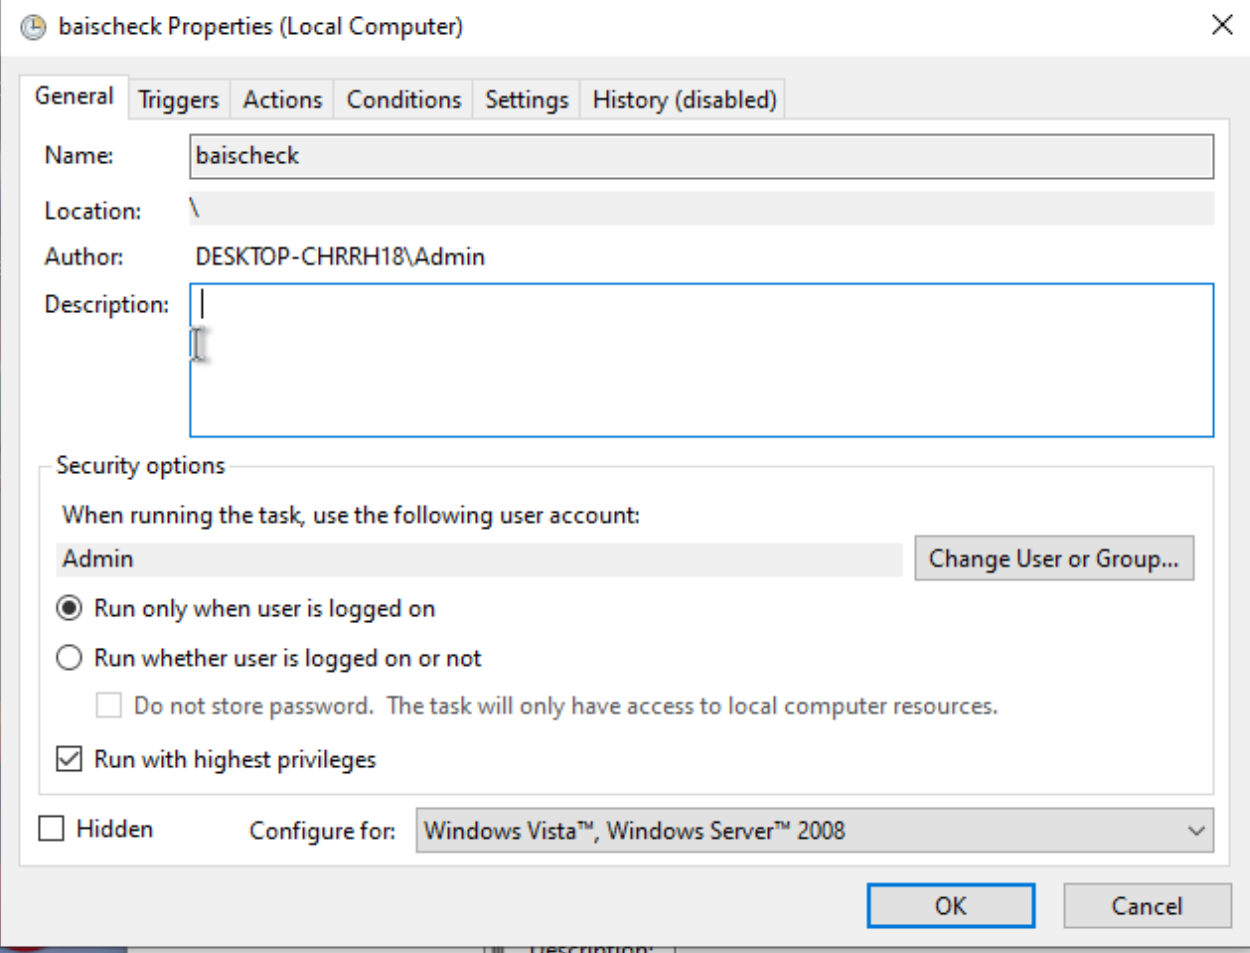
- Open Task Scheduler.
- Create a basic task that runs at user logon.
- Point it at the renamed agent (
agent.pyw) and give the task a non-cybersecurity-related name. - Open the task properties and check Run with highest privileges.
Save and run the task once manually to confirm it starts.
Verify host ↔ guest connectivity
From the host, the agent's HTTP listener should respond on port 8000:
curl http://<guest-ip>:8000/
If the request times out, the most common cause is Windows Firewall — confirm the allow-all rule is in place.
From the guest, ping the host on the result-server IP to confirm the reverse path works:
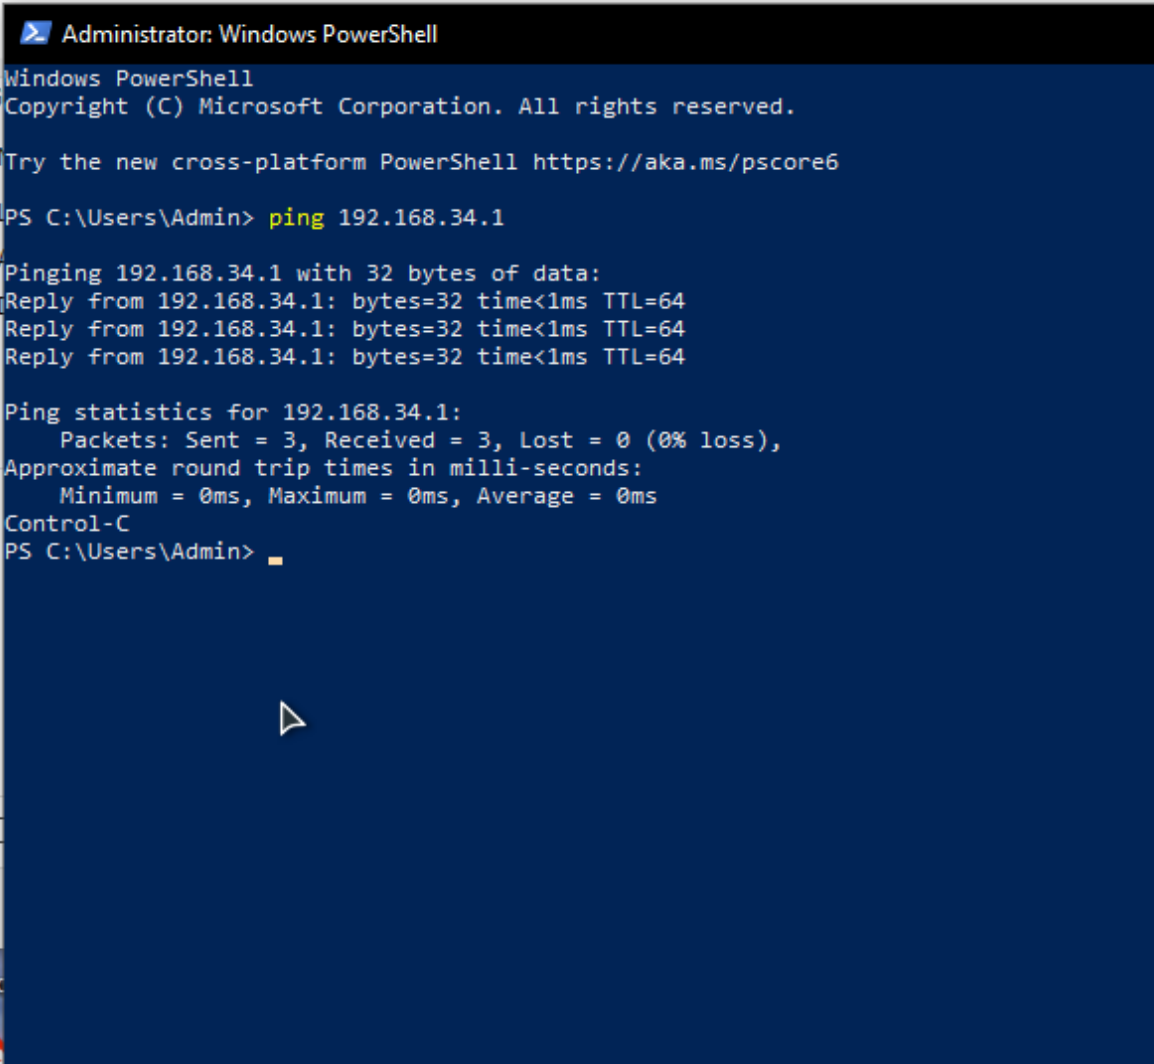
Once both directions succeed, take a snapshot named clean_slate (or whatever you set in kvm.conf). I keep multiple snapshots for different baseline configurations.

Step 6 — Restart and verify CAPE services
sudo systemctl restart cape.service cape-processor.service cape-web.service cape-rooter.service
sudo systemctl status  cape.service cape-processor.service cape-web.service cape-rooter.service
The four services should report active (running). The most failure-prone are cape (the orchestrator) and cape-processor (the analysis pipeline). A quick sanity check: restarting cape will power off the guest VM if it was running — if it doesn't, libvirt connectivity isn't wired up correctly.
A healthy status looks like this:
● cape.service - CAPE
     Active: active (running)
     Docs: https://github.com/kevoreilly/CAPEv2

● cape-processor.service - CAPE report processor
     Active: active (running)

● cape-web.service - CAPE WSGI app
     Active: active (running)

● cape-rooter.service - CAPE rooter
     Active: active (running)
You may see warnings such as OPTIONAL! Missed dependency: poetry run pip install -U git+... — these are safe to ignore unless you specifically need the parser they reference.
Step 7 — Submit your first sample
Browse to the CAPE web UI (default http://localhost:8000/), submit a benign test sample (an EICAR file is a fine start), and confirm the analysis completes end-to-end. If reports generate and the guest reverts to clean_slate afterwards, the deployment is healthy.

Back it up
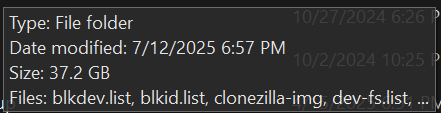
A working CAPE deployment represents hours of configuration. Image the host with Clonezilla once everything is verified. A typical compressed image lands around 40–60 GB on a 120 GB virtual disk.
Extra configuration — additional VMs, parser tuning, integration with MISP or Suricata — is out of scope here, but the foundation above is the hard part. The rest is iteration.